Salted Caramel Tarts
There seems to be a massive love for salted caramel that is spreading across the web at the minute, I can’t look at Pinterest without a new recipe popping up (If you are on Pinterest you can following me here, please leave your Pinterest name in the comments so I can follow you!)
Caramel has always been a big step for me in the baking department and I have done everything I could to avoid making it. Most of the recipes ask for scary thermometers and exact temperatures not to forget about the vast warning that it will jump out of the pan and slap you square in the face like a red hot poker. I am not up for any of that. However I perused the internet and found a smashing easy to follow recipe that I just had to try. And what better way to do it than in the form of a tart with chocolate on top?!
So here’s what you’ll need:
For the Sweet Pastry
100g Butter
100g Icing Sugar
270g Plain Flour
2 eggs
For the Caramel
275g Caster Sugar
110ml Double cream
135g Butter
75ml water
Good pinch of sea salt
For the Chocolate ganache
200g chocolate (I use a dark and milk mix)
200g Double cream
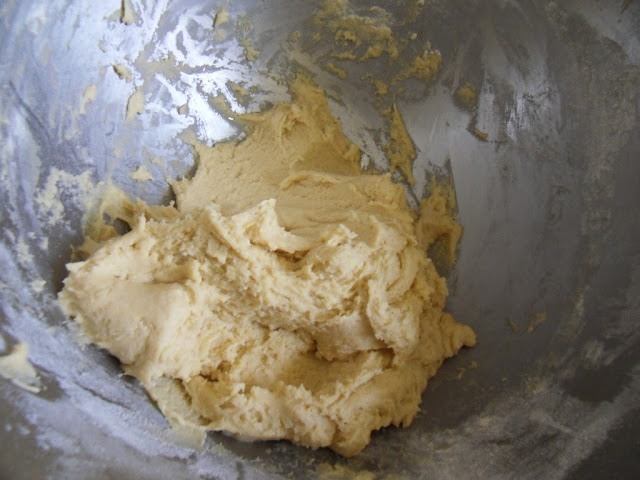
For the pastry take your butter and beat it together with the icing sugar until the mixture is pale. Add the eggs and the mix again. Once mixed add in the flour and mix until it is just combined.
Flour your surface and turn you mixture out, shape it into a disc and then wrap in cling film. Put this in the fridge for 1 hour to chill.
Once it is all relaxed it’s time to get it out and put it into your tins. Before you do this preheat your oven to 180 degrees and grease your tins.
I used six small tartlet tins and had loads of pastry left over so I greased up a muffin tray to use up the rest of the pastry…….you could always freeze your excess.
This bit is the tricky bit with pastry, you don’t want to over work it because it will start to get short and crumble. So what I recommend you do is take a ball that fits into the palm of your hand, roll it out so it about half a centimetre thick and lay it out in one of your tins. You can the gage how much you will need per tin and only roll out what you need per tin. Then you don’t have to keep reworking and rolling out your cut offs.
When you get your pastry is in the tin take a spare lump of pastry and use that to push the pastry into the corners of the tins, this will avoid the pastry tearing as can happen if you use your fingers.
Once your pastry is in the tine the easiest way of cutting off the excess is to roll your rolling pin over the pastry, this lets the tin do all of the hard work and you get a perfect cut.
If you are using muffin tins then you can be a little less precise and just roughly roll out your pastry and gently push it into the tins. I quite like this method as the look more authentically homemade.
Now you pastry is in your tins cover them over and put in some baking beads (or rice if you don’t have the baking beads). Pop them into the oven for 15 minutes to blind bake.
Phew!
I waited until the pastry was done before starting my caramel, I didn’t want to risk it!
For your caramel put the caster sugar and water into a pan and put on a medium heat until the sugar has dissolved.
Once it has dissolved bring the mixture to the boil and allow to darken to a medium brown colour, this usually take 10 minutes.
Now this is the scary bit. So scary I didn’t take photos….sorry!
Once your mixture is the right colour take it off the heat and quickly add your butter, salt and cream. The mixture will spilt so don’t worry. Quickly whack it back onto the heat and stir for 3 minutes until it is the fabulous caramel you know and love.
Please note that this mixture gets quite vocal and spits a lot…….it is probably not the best role model for kids so I wouldn’t do this recipe with them! And watch your arms…….
Pour your caramel into your freshly cooled pastry cases and then refrigerate for 3 hours or until set.
Luckily all you have left is the super easy bit. Put your cream into a pan and heat until it’s just starting to boil. When it gets to this point take it off the heat and add in the chocolate. Gently stir it until the chocolate is all melted. Pour your ganache onto the caramel and then leave to set. If you want them shiny use good quality dark chocolate and don’t set them in the fridge. If you’re not bothered about shine and aren’t a fan on dark chocolate then use a mix of dark and milk.
It’s a looks like a long recipe but it is quite short once you know what you’re doing. All I can say is they are totally worth the effort!!


Comments
Post a Comment